In this second tutorial, we will walk you through the process of installing NixOS. Unlike the first installation tutorial, we will use the command line to install NixOS manually, except for using disko to specify disk partitions declaratively in Nix itself. This is the first step toward our next tutorial, where we will automate the entire installation process.
Prepare to install NixOS
This tutorial doesn’t use a graphical installer. Instead, it uses the minimal ISO image. This is primarily because we don’t want the installer to partion the disk for us. We will use disko to do that.
- Download the latest NixOS ISO from here. Choose the “Minimal ISO image” for your architecture.
- Create a bootable USB flash drive (instructions here)
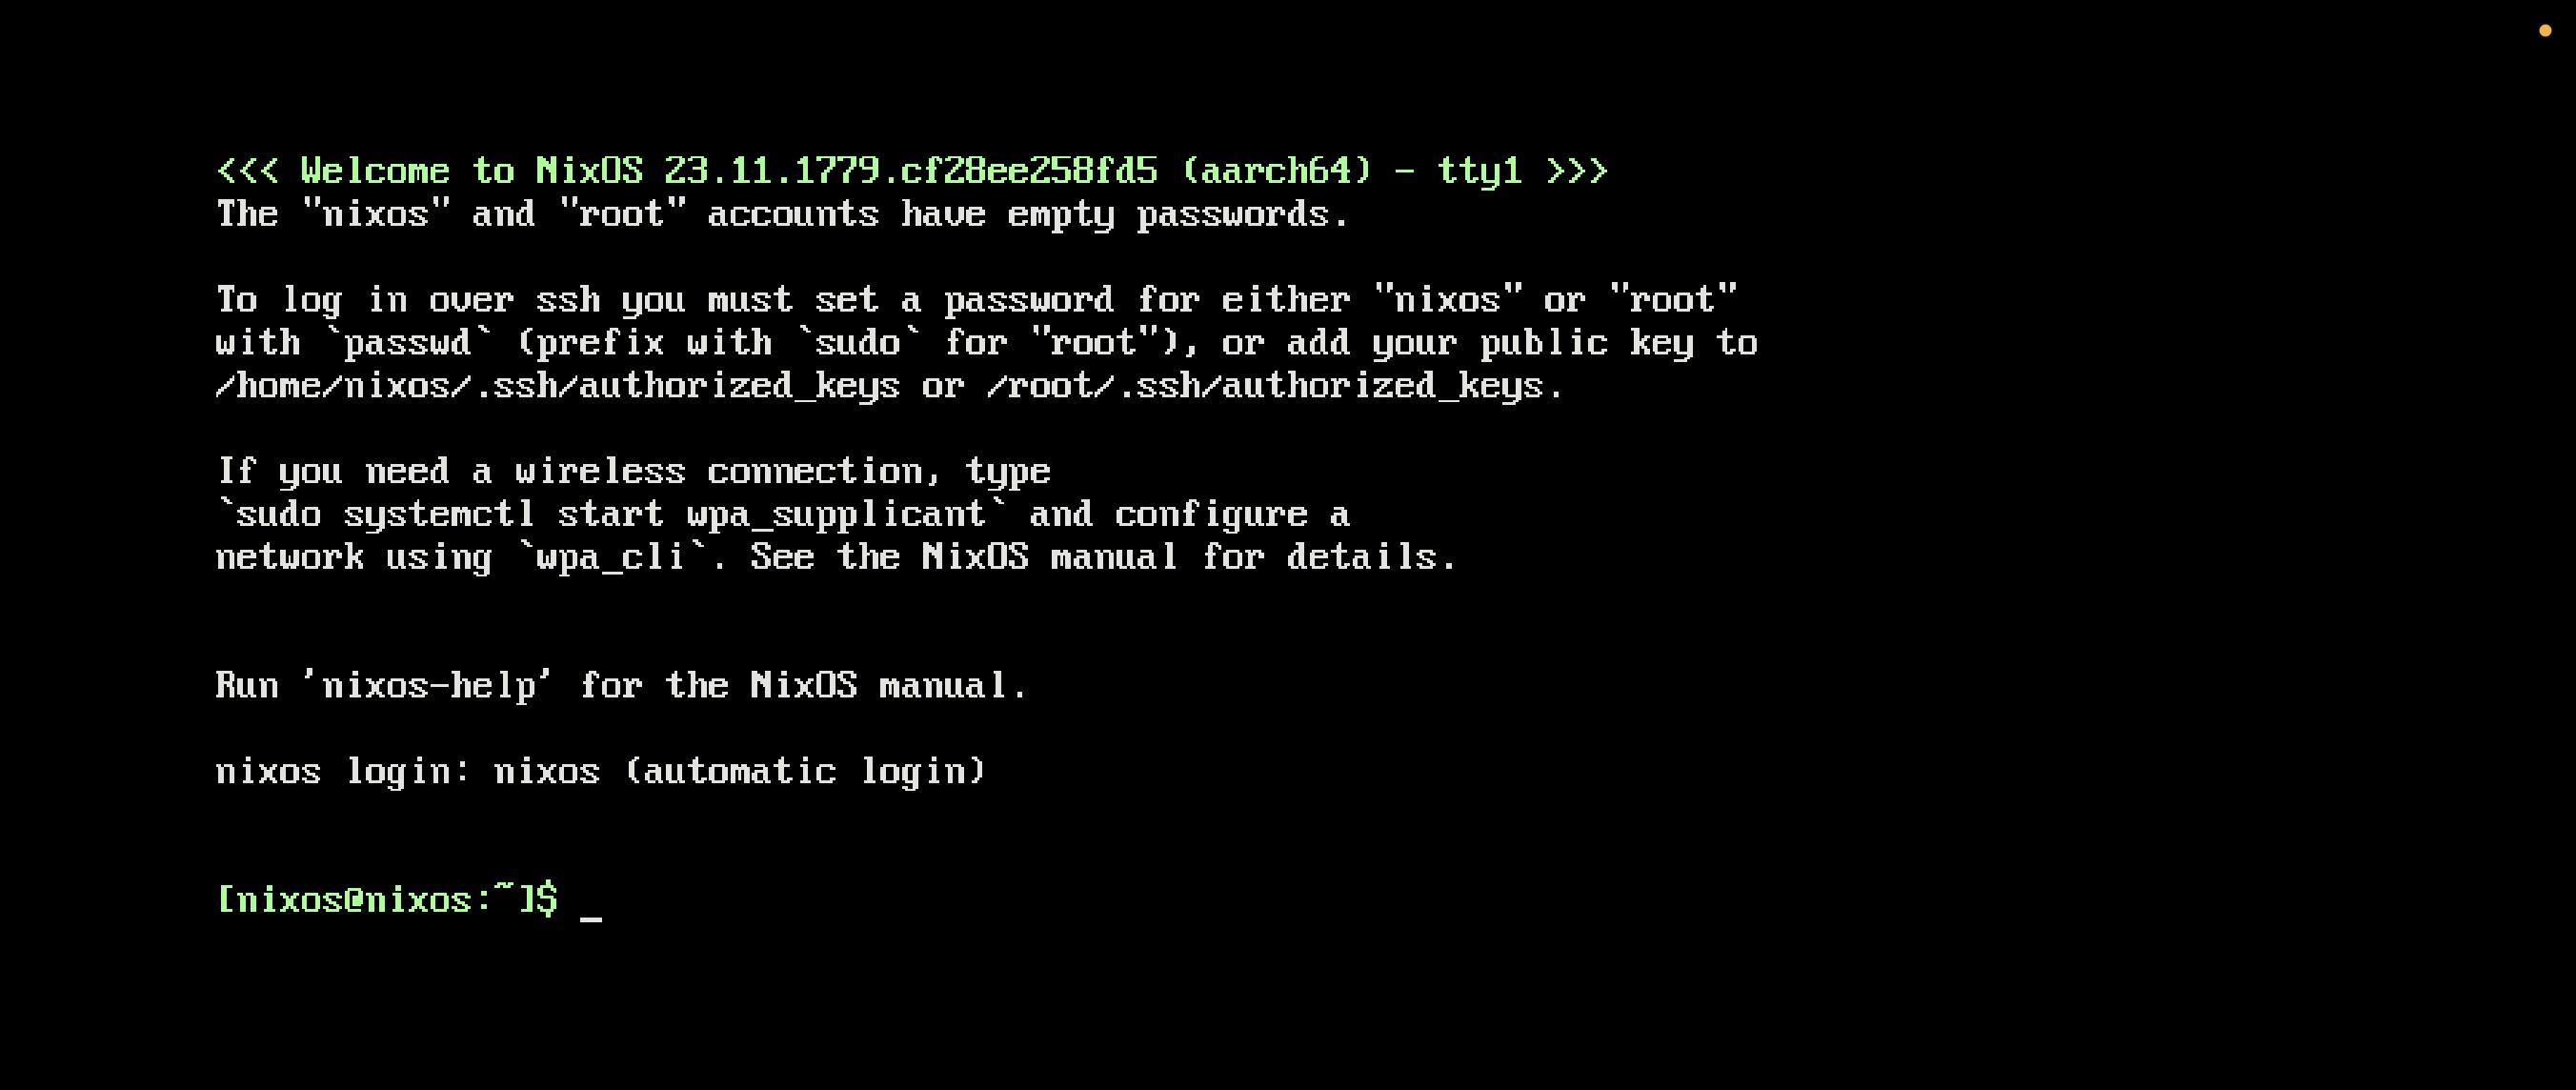
Boot your computer from this USB flash drive, and expect to be greeted with a command line interface (CLI):
Partition the disk
Before installing NixOS, let’s define our partition layout in Nix. We will follow the official disko documentation and include screenshots wherever necessary. Finally, we will use flakes to manage the configuration.
Choosing the disk configuration
Instead of creating our partition layout from scratch, we can choose one of the examples Disko itself provides (see here). We will use the hybrid example as it will work for both BIOS and UEFI systems.
Retrieve the disk configuration to a temporary location, calling it disko-config.nix (we will use it latter):
curl https://raw.githubusercontent.com/nix-community/disko/master/example/hybrid.nix -o /tmp/disko-config.nix
Modify the disk configuration
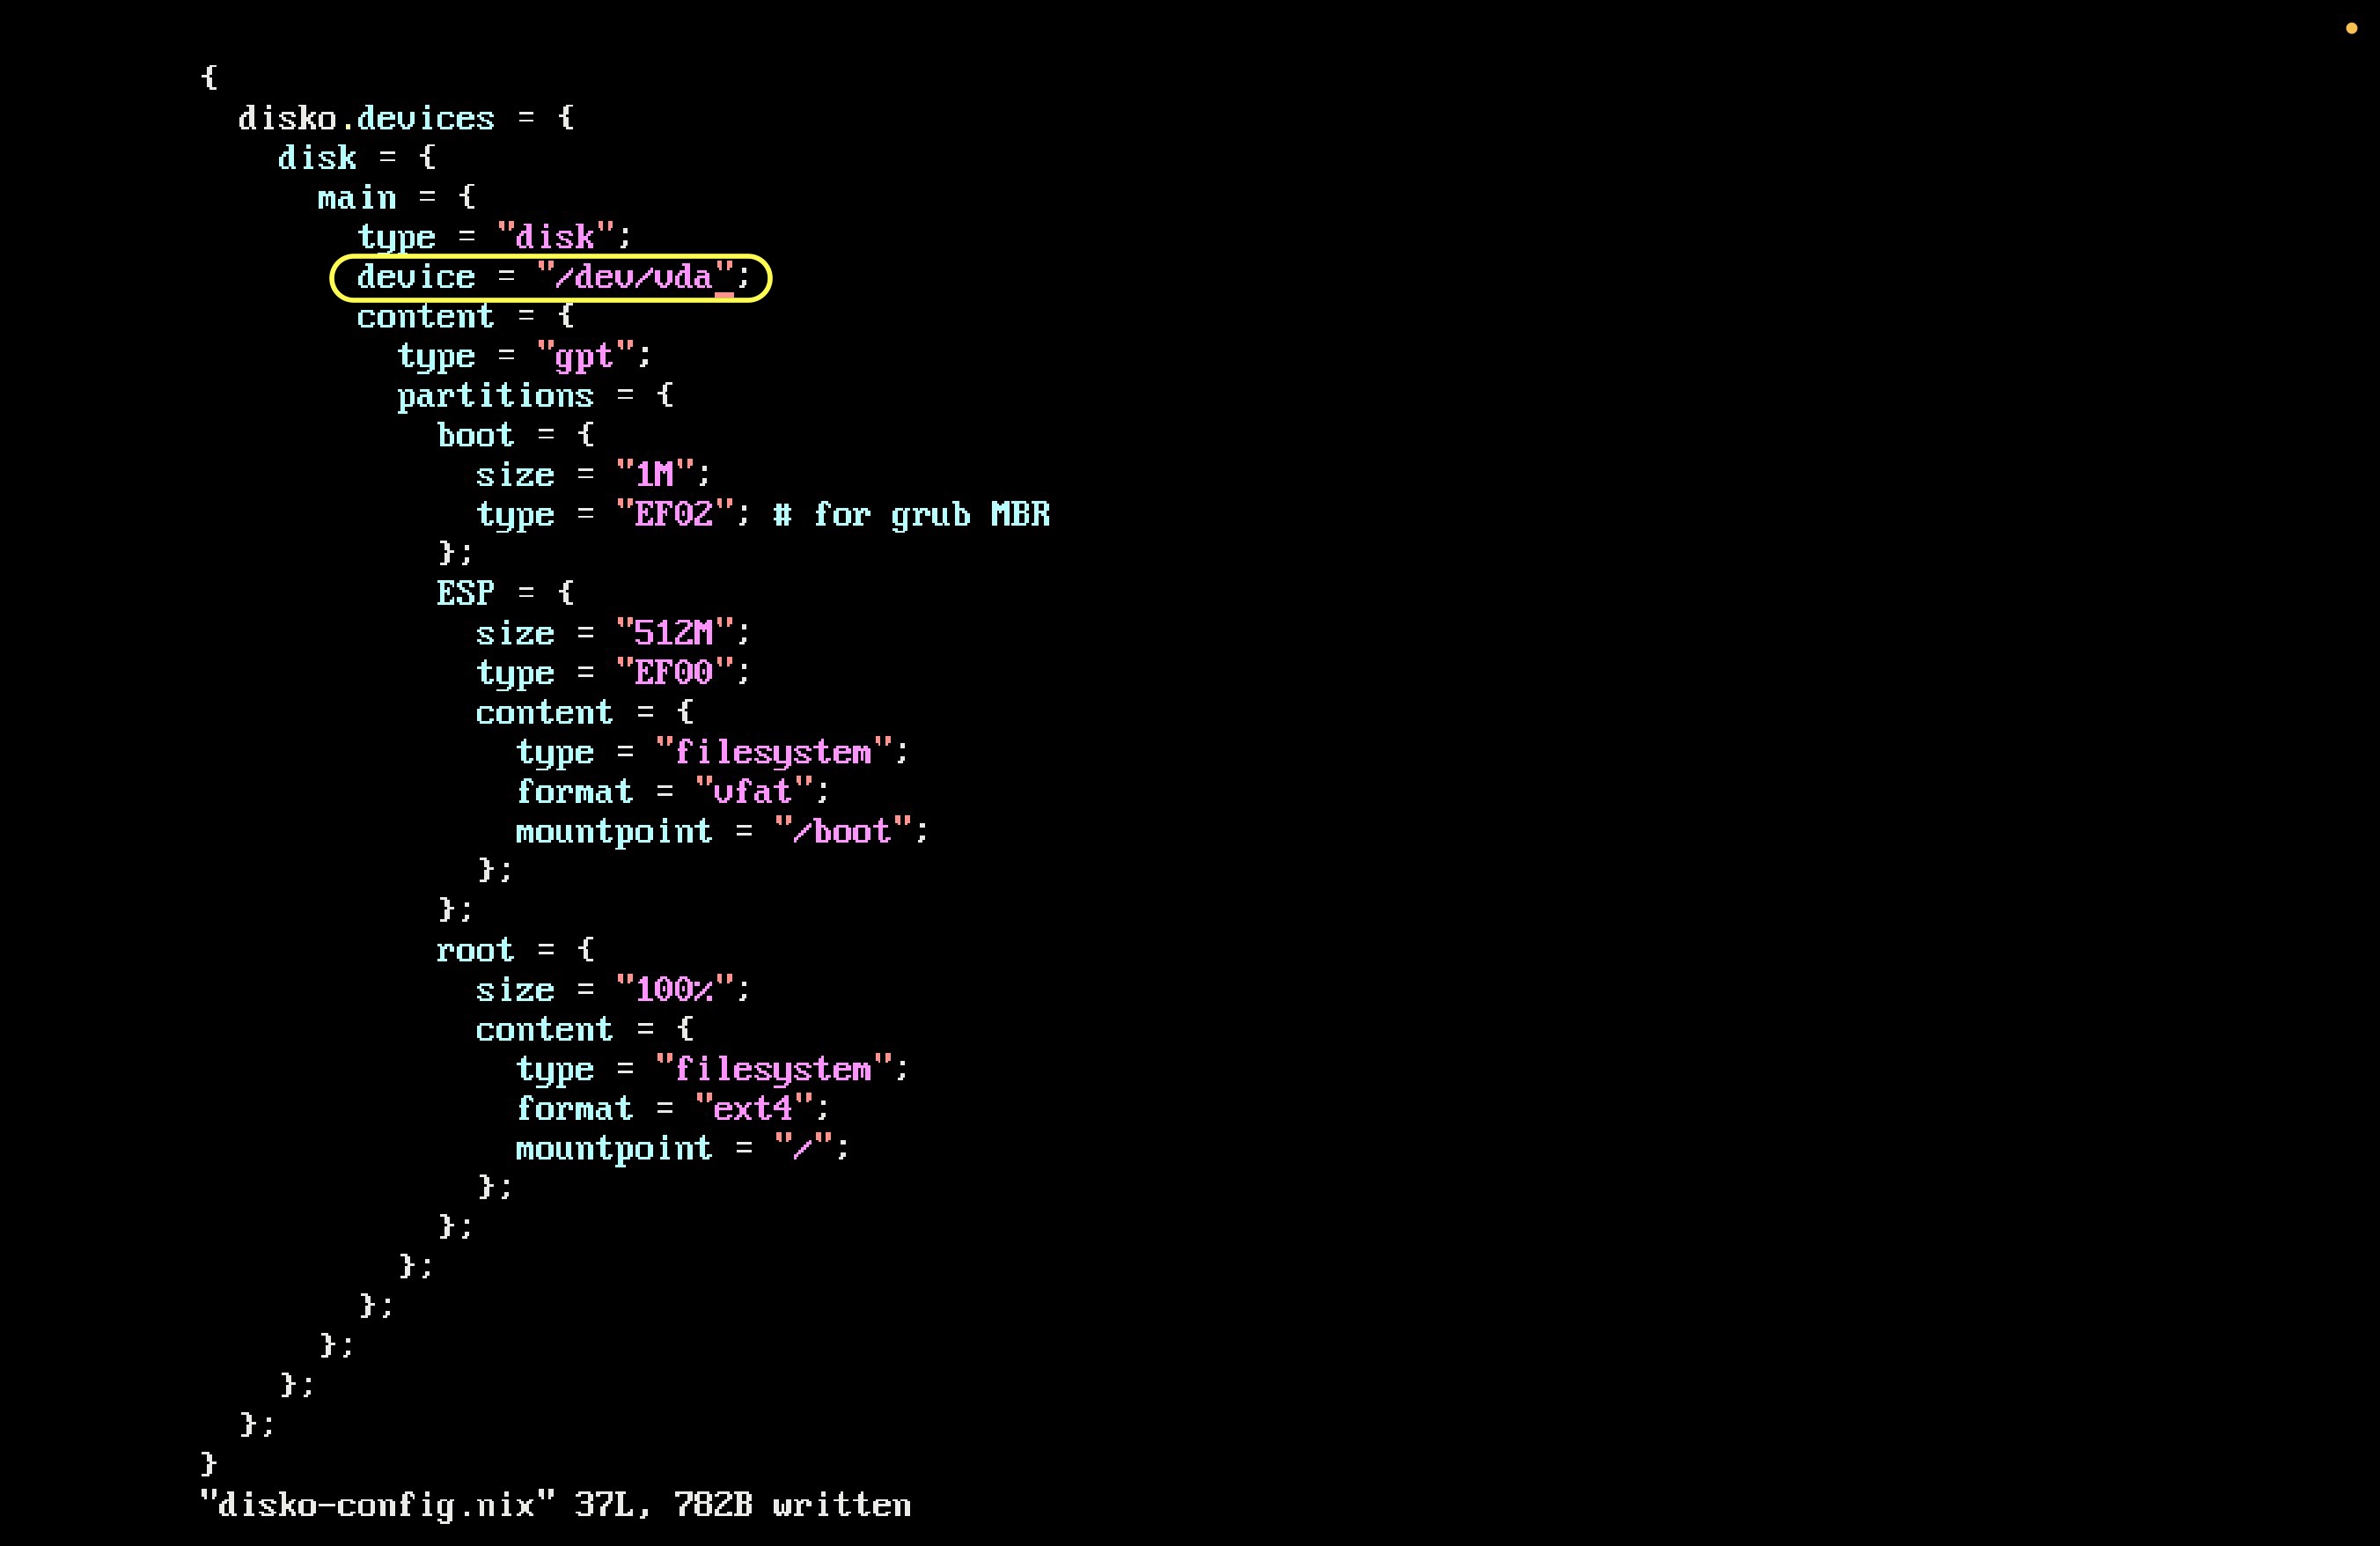
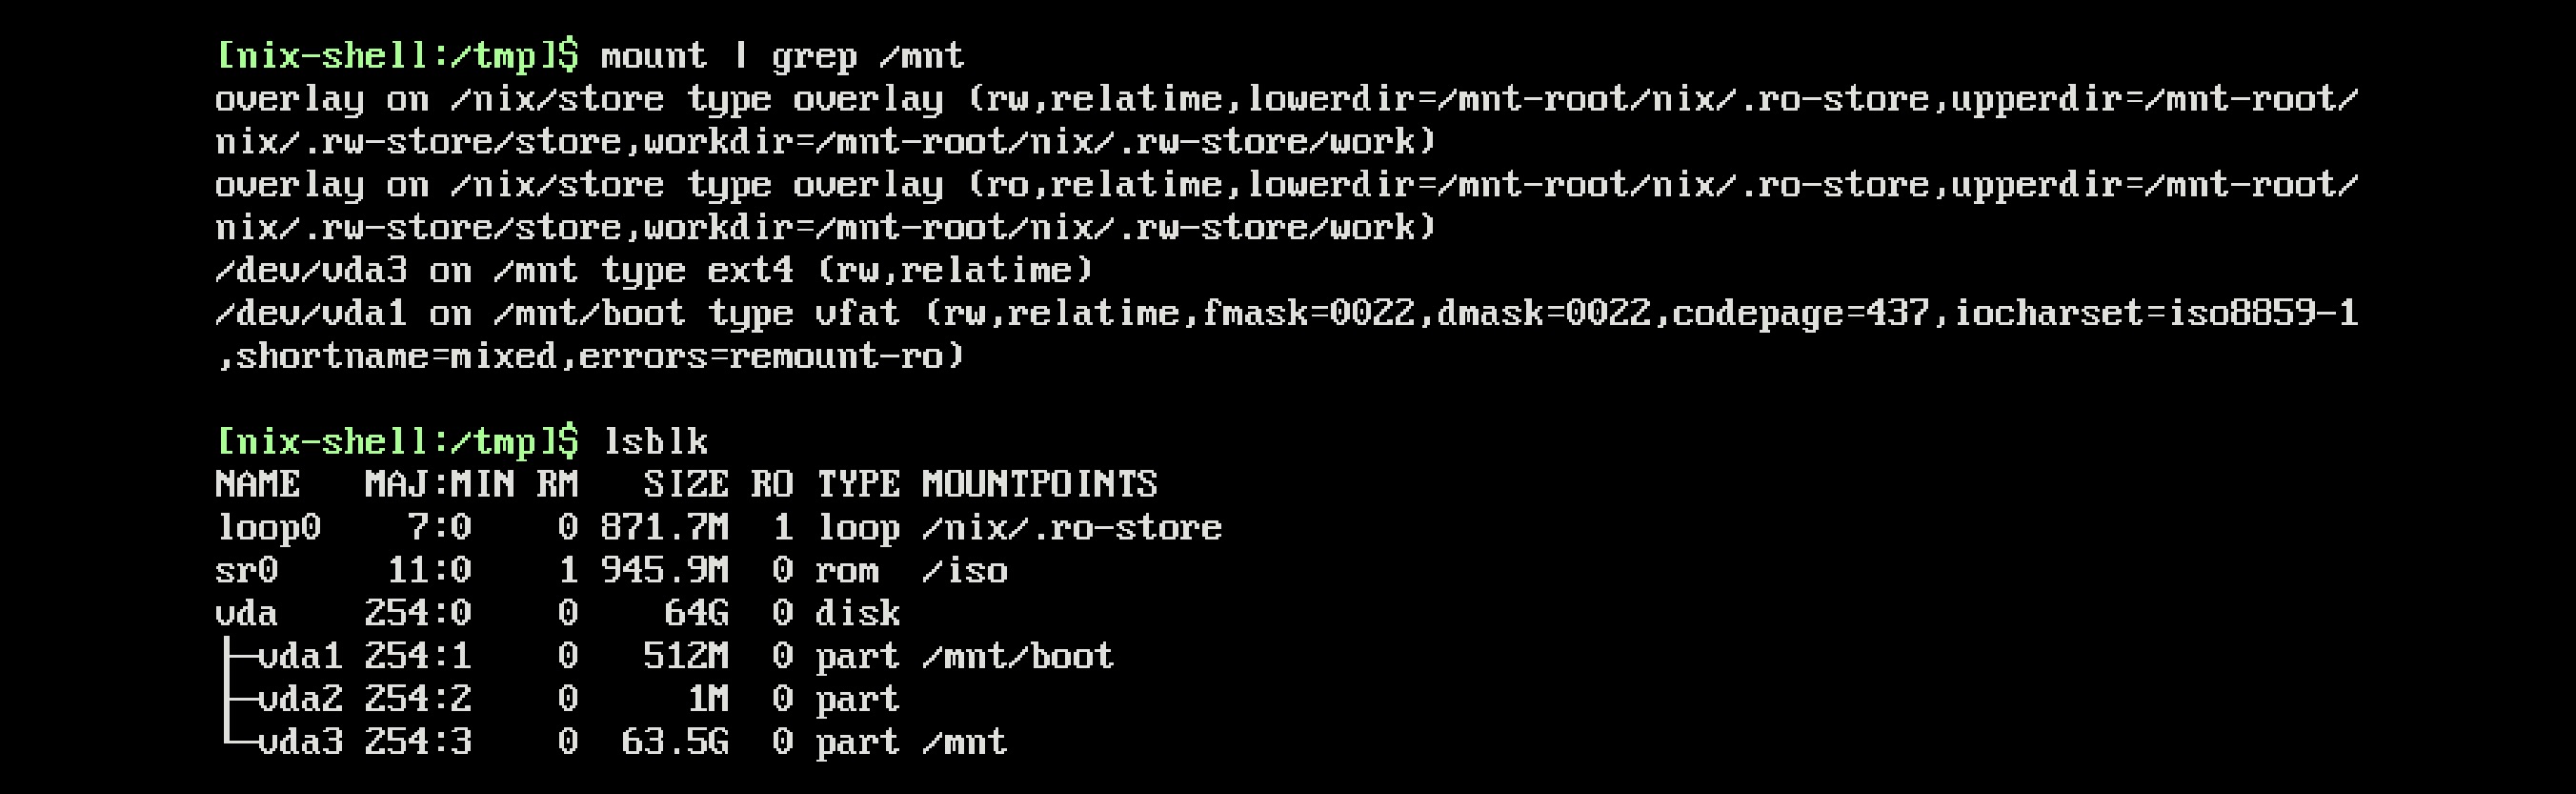
The above downloaded Nix file uses a hardcoded disk device. So, we need to replace it with the device name of the disk we want to install NixOS on. We can use lsblk to find it.

In this case, the device name is vda. The device file is located at /dev/vda. We will use this to modify disko-config.nix we downloaded earlier.
Run the partitioning script
The disko flake provides an app that will take our partitioning scheme defined in Nix file above, partition the specified disk device and mount it at /mnt. We want this to happen prior to installing NixOS. Let’s do that now:
sudo nix \
  --experimental-features "nix-command flakes" \
  run github:nix-community/disko -- \
  --mode disko /tmp/disko-config.nix
Once the command completes, you should see the disk partitioned and mounted at /mnt:
Generate initial NixOS configuration
With the disk partitioned, we are ready to follow the usual NixOS installation process. The first step is to generate the initial NixOS configuration under /mnt.
sudo nixos-generate-config --no-filesystems --root /mnt
--no-filesystems and --root?
-
The fileSystems configuration will automatically be added by
disko’s nixosModule (see below). Therefore, we use--no-filesystemsto avoid generating it here. -
--rootis to specify the mountpoint to generateconfiguration.nixandhardware-configuration.nixin. Here, our configuration will be generated in/mnt/etc/nixos.
Flakeify the configuration
Before we can utilize disko in our generated configuration, we will convert our configuration to a flake. This is a simple process of adding a flake.nix file in /mnt/etc/nixos:
# /mnt/etc/nixos/flake.nix
{
  inputs = {
    # NOTE: Replace "nixos-23.11" with that which is in system.stateVersion of
    # configuration.nix. You can also use latter versions if you wish to
    # upgrade.
    nixpkgs.url = "github:NixOS/nixpkgs/nixos-23.11";
  };
  outputs = inputs@{ self, nixpkgs, ... }: {
    # NOTE: 'nixos' is the default hostname set by the installer
    nixosConfigurations.nixos = nixpkgs.lib.nixosSystem {
      # NOTE: Change this to aarch64-linux if you are on ARM
      system = "x86_64-linux";
      modules = [ ./configuration.nix ];
    };
  };
}
-
Replace
nixos-23.11with the version fromsystem.stateVersionin your/mnt/etc/nixos/configuration.nix. If you wish to upgrade right away, you can also use latter versions, or usenixos-unstablefor the bleeding edge. -
x86_64-linuxshould beaarch64-linuxif you are on ARM
For details, see Convert configuration.nix to be a flake.
Add the disko nixosModule
Our NixOS configuration still does not know anything about filesystems. Let’s teach it just that by using the previously downloaded disko example. We do this by adding the disko flake input, importing its NixOS module before importing our /tmp/disko-config.nix.
-
Add the
diskoflake input in/mnt/etc/nixos/flake.nix:# In `/mnt/etc/nixos/flake.nix` { inputs = { disko.url = "github:nix-community/disko"; disko.inputs.nixpkgs.follows = "nixpkgs"; }; }Why the “follows”?disko.inputs.nixpkgs.follows = "nixpkgs";is to ensure thatdiskouses the same version ofnixpkgsas specified in the current flake. This avoids having two different sources ofnixpkgsand saves space. -
Add the
diskonixosModule:{ # In `outputs` of `/mnt/etc/nixos/flake.nix` nixosConfigurations.nixos = { # ... modules = [ ./configuration.nix inputs.disko.nixosModules.disko ]; }; }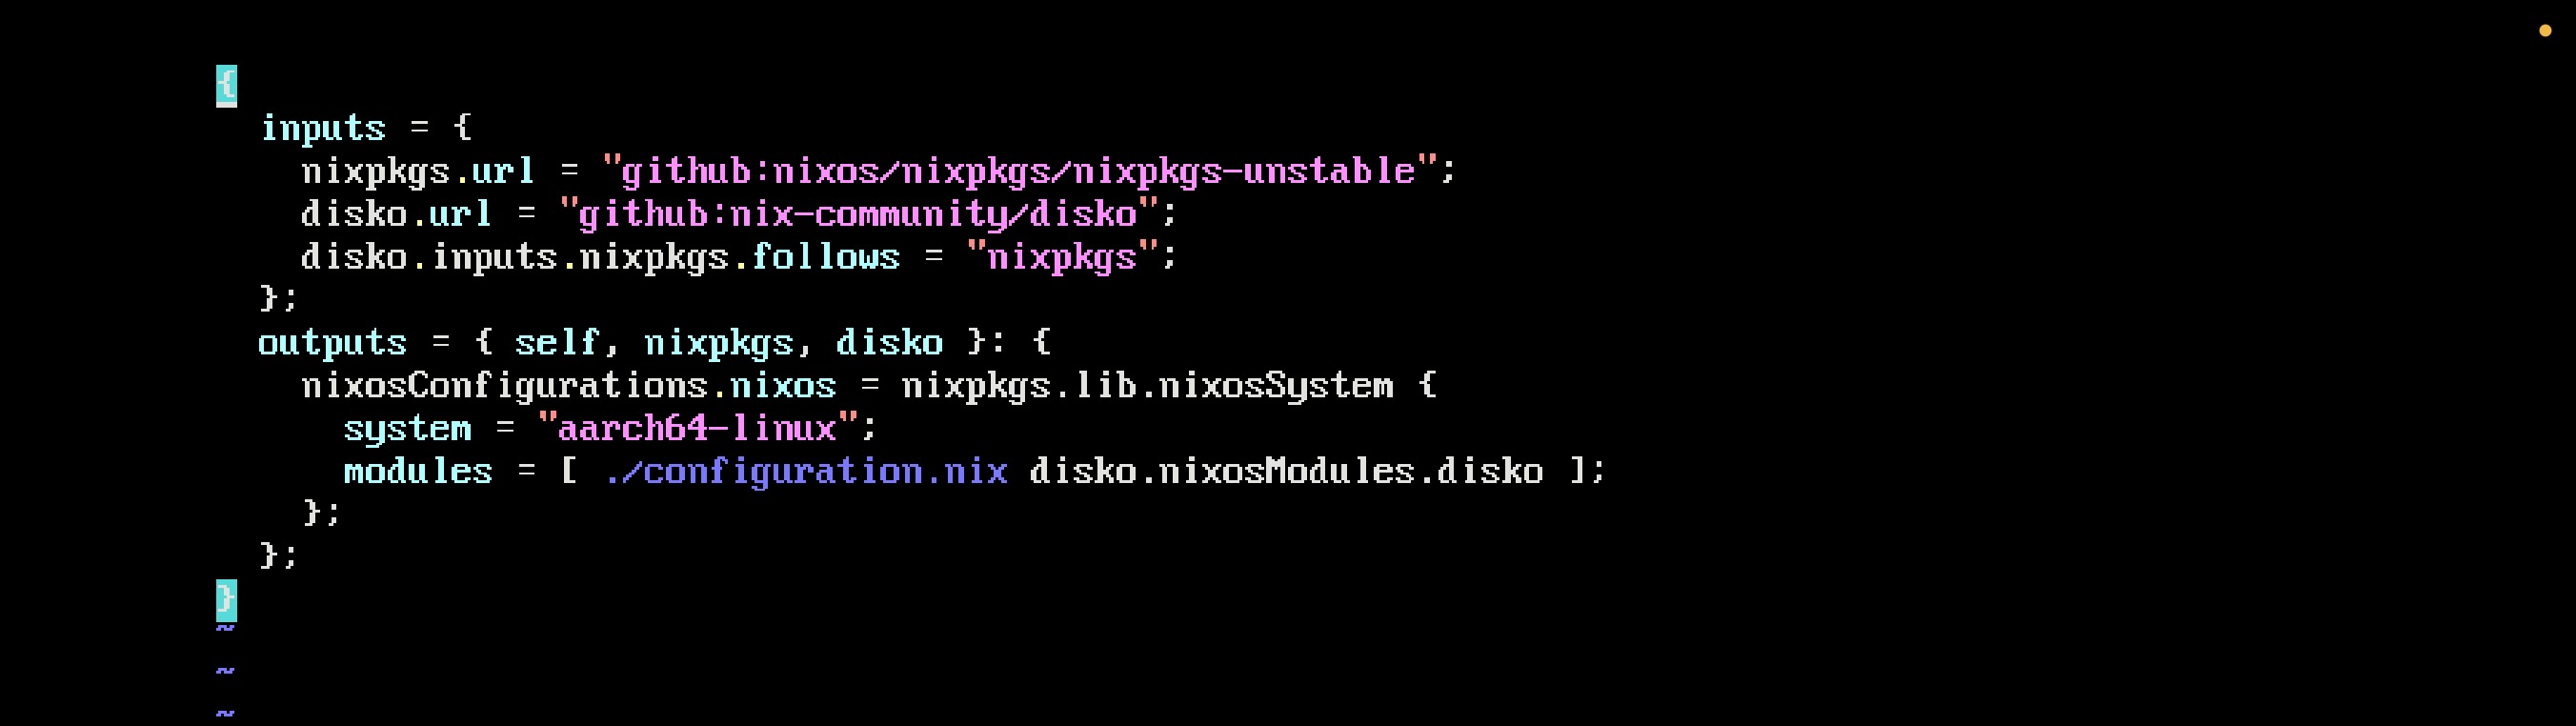
-
Move the
disko-config.nixto the flake directory:mv /tmp/disko-config.nix /mnt/etc/nixos -
Add the disk configuration and use GRUB:
{
  # In `/mnt/etc/nixos/configuration.nix`
  imports = [
    ./hardware-configuration.nix
    ./disko-config.nix
  ];
  #boot.loader.systemd-boot.enable = true;
  #boot.loader.efi.canTouchEfiVariables = true;
  boot.loader.grub.enable = true;
  boot.loader.grub.efiSupport = true;
  boot.loader.grub.efiInstallAsRemovable = true;
}
Info
InfoThe boot loader configuration above is compatible with both BIOS and UEFI systems. Additionally, BIOS also requires boot.loader.grub.device to be set which is done by
disko’snixosModule.
Let’s check that our final configuration is correct by using nix repl. In particular, we test the fileSystems set by disko:
# First, create a flake.lock
sudo nix --experimental-features "nix-command flakes" flake lock

# Start repl
nix --experimental-features "nix-command flakes" repl
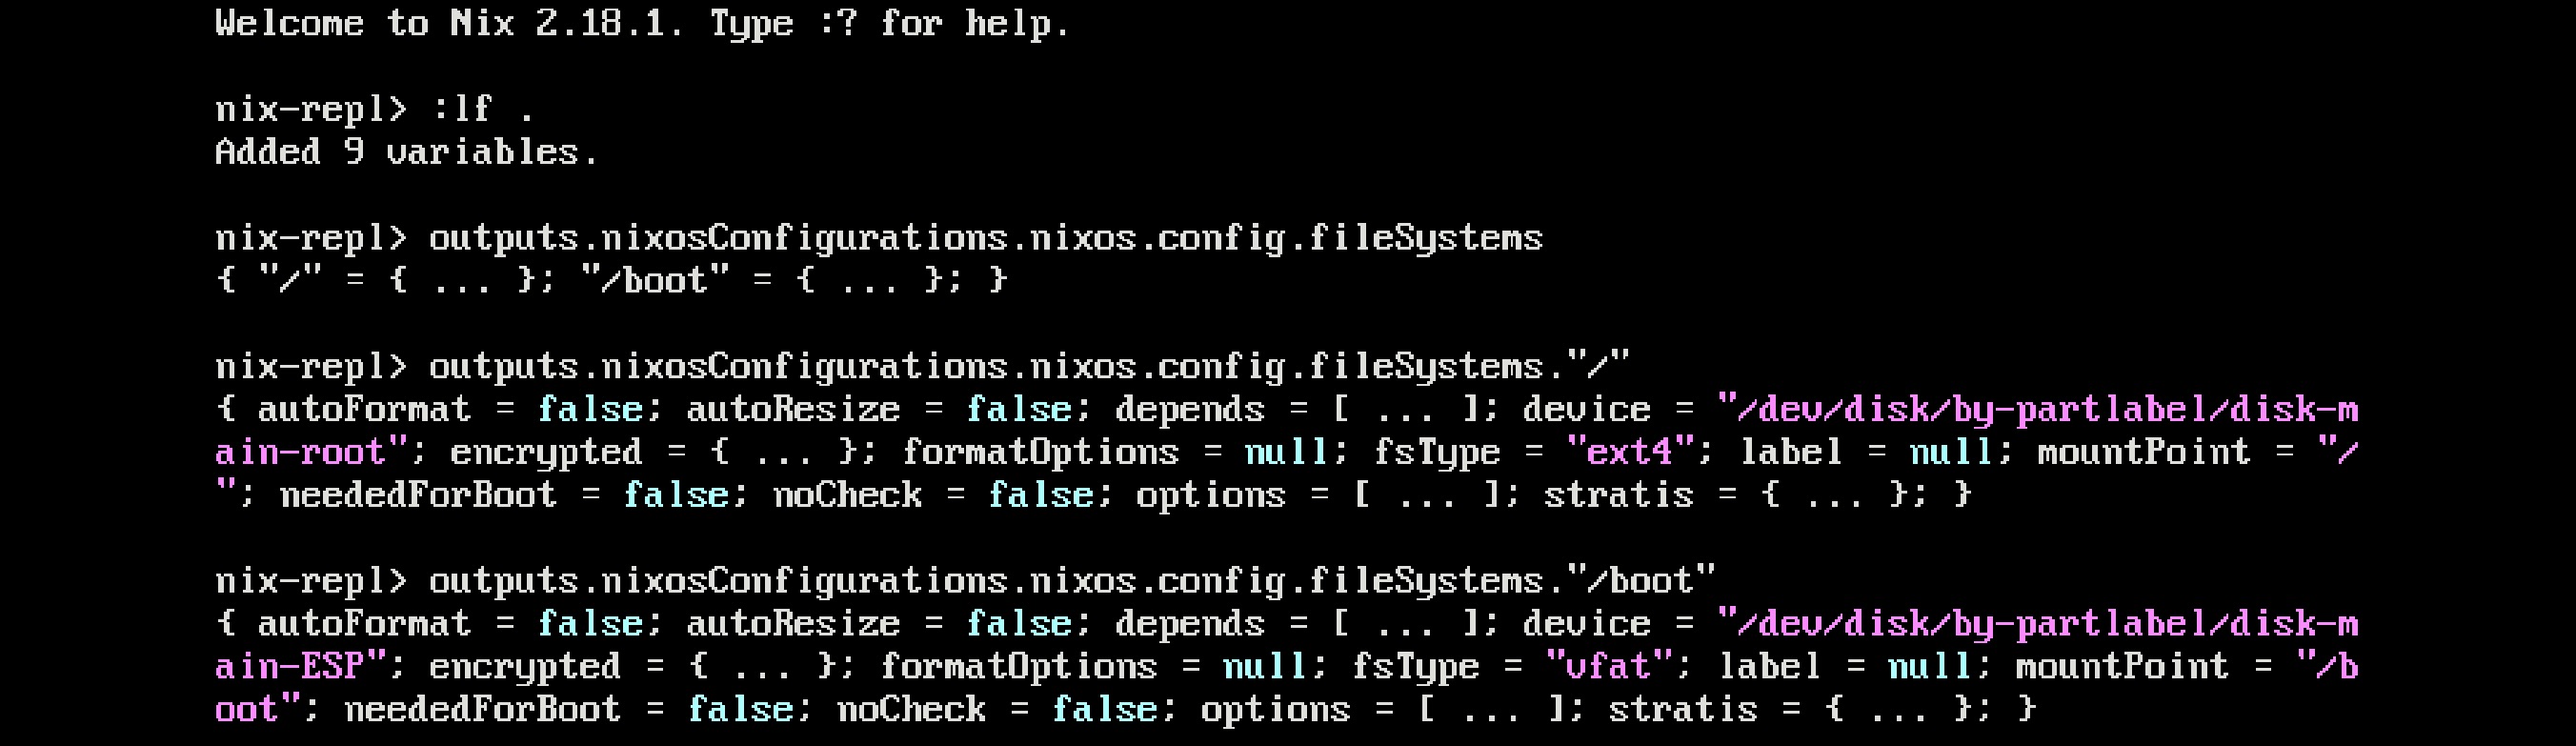
If you see something similar to the above, everything’s good and we are ready to perform the actual installation.
Install NixOS
With our NixOS configuration in place, we will use the nixos-install program to install NixOS:
sudo nixos-install --root /mnt --flake '/mnt/etc/nixos#nixos'
# NOTE: You will be prompted to set the root password at this point.
sudo reboot
Once rebooted, you should be greeted with the NixOS login screen, allowing you to login to the machine using the root password you had set.
Bonus steps
This tutorial focused mostly on disko, but left some of the things covered in the previous tutorial which you might want to consider:
Video walkthrough
Video demo of the install ⤵️ pic.twitter.com/KJLntZ6CrY
— Sridhar Ratnakumar (@sridca) February 19, 2024
Recap & next steps
You now have a reproducible disk partitioning scheme. This does come at the cost of a few extra manual steps, but you can automate them with a script. Which is what we will do in the next tutorial. We will use nixos-anywhere to automate the steps above and eliminate the need for a USB flash drive (assuming you have a working Linux system or are booted into a rescue image).